
“Digital Archivist Note”

How to Set Up An Odyssey Biography Page
Activate Biography | Add Title | Refine Search Query | Prepare Attributes | Prepare Filters | Setup Metadata
Each group’s online archive site has an optional Biography section designed to showcase profiles of persons that are associated with our collections. This tutorial explains how to set up that biography profile page.
Reminder: The Odyssey Data Dictionary is a quick reference for History Trust members using Odyssey Preservation Software. We highly recommend using this as a reference sheet as you navigate this guide.
Step 1. Activate your biography page.
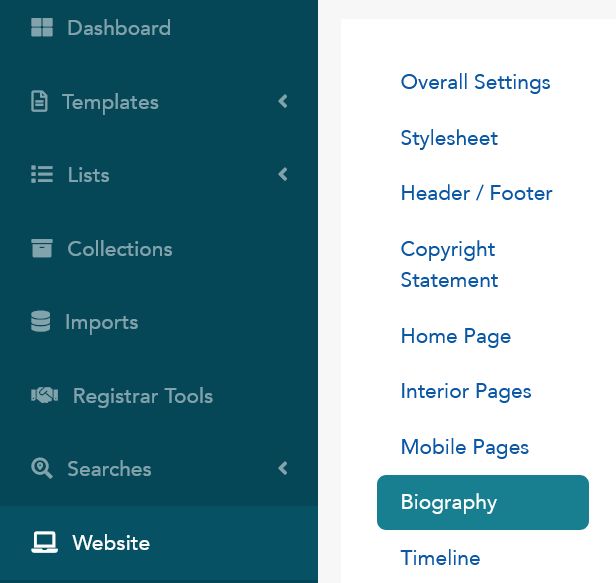
Navigate to your group’s Website area of Odyssey and click the “Biography” tab as shown below.
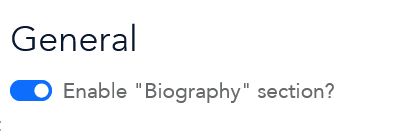
Under “General,” enable the Biography section. This will allow the biography to show on your website.
Step 2. Add a title (and optionally an introduction).
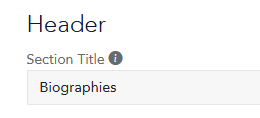
Keep in mind that the title will appear in the navigation menu, so keep the name short.
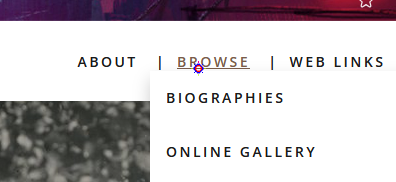
This title will appear on the website’s navigation bar like this:

You can also put it in a navigation folder using Header / Footer -> Nav Order, if you like.
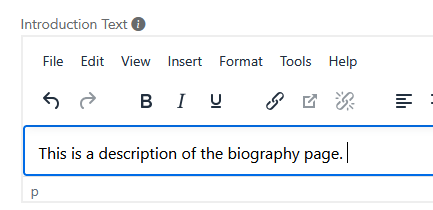
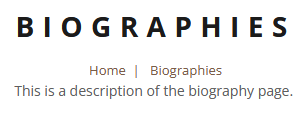
Add an introduction, if you wish. The introduction will appear under the title and ‘breadcrumbs’ as shown below.
Step 3. Refine your search query, if you wish.
This query allows you to narrow down which biography profiles will show. By default, it should look like this:

Make sure that the query includes items from the Person authority list. You can edit the query to refine the results as you wish.
We recommend that you only show biographies with images by checking “Results must have at least one asset” under the Edit Query page. The image could be photo, painting or other representation of the person.

Step 4. Prepare your attributes.
Ordering attributes
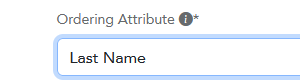
This step will decide the order in which the biographies are presented. The default is Date/Date Range. It is more intuitive to arrange biographies by Last Name.
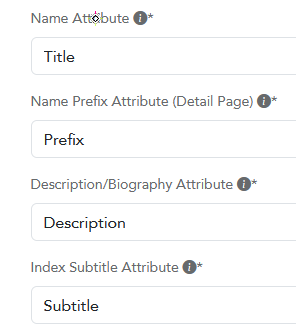
Name, Prefix, Description, Index Subtitle Attribute
The biographies this page pulls from are curated, so these are usually best left as is.
Related Items Source
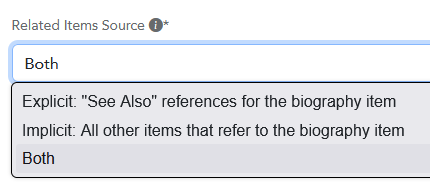
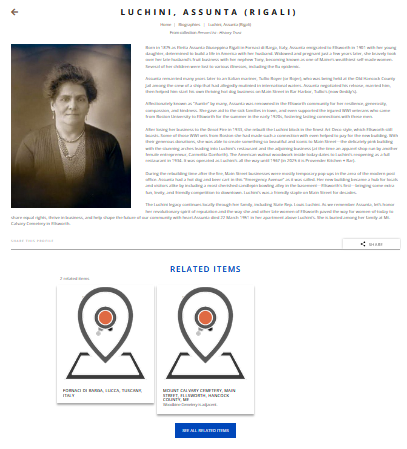
This one is important! In “explicit” mode, which is the default, the related items will only show on the biography if they have been explicitly selected. “Implicit” mode will show any items that refer to that biography directly, but not the “see also” items. “Both” includes both any item linked to this person (e.g through People Mentioned metadata), and the items explicitly set under “See Also.”
Step 5. Prepare your filters.
There are two Filter fields: Filter Source and Filters to Present.
Filter Source
The Filter Source is an authority list that contains filters you can use. The filter source you choose depends on how you want your filters to work. The easiest and simplest filter option is to use the Profile Group Filter authority list and select the filter for your specific History Trust group. Another option is to use the Subject authority list: Note that this only finds items that have “subjects” set up. Additional filters may be suggested for the Profile Group Filter list, e.g., Cranberry Isles Artists.
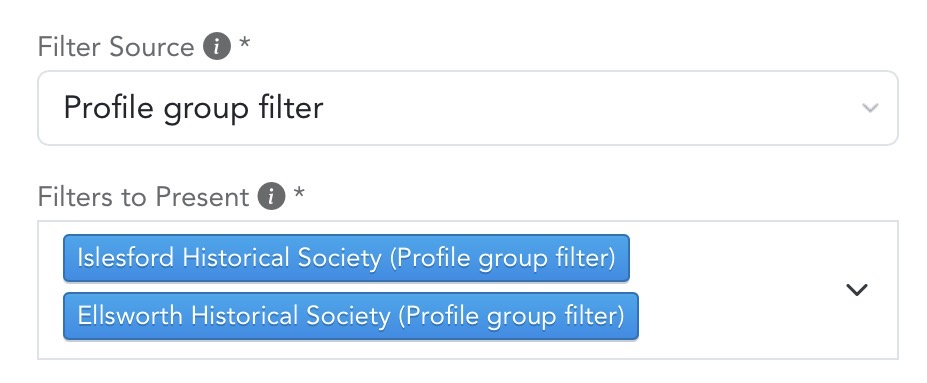
Source A: Profile Group Filter: This is an organization-specific filter list that allows you to filter biography profiles involving people associated with your collection. You may suggest specialized filters for your group.
To start with this source, you select “Profile Group Filter,” and begin typing your organization’s name. You can add other groups’ filters, if you like too.
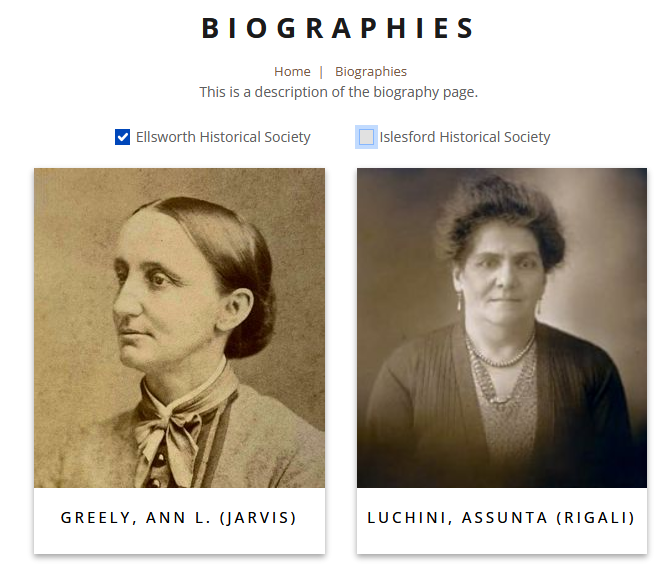
These filters will create check-boxes, allowing the viewer to filter the biographies they view by organization, as shown below. Here our site visitor has decided to see Ellsworth’s biographies on Islesford’s page. To each their own!
Source B: Subject List. Another option is to set up the Biographies page to filter by subject. Note that this will only find people who have “subjects” set up on the Person authority list.

Step 6. Set up detail item metadata.
The <Detail Metadata> field identifies what extra information about a person will show on their biography page. By default, the <Detail Metadata> field is empty, which means that site visitors will only be able to see the name, image, biosketch, and any related collection items. Add other metadata you would like to show under <Detail Metadata>.
For example, let’s pick some fields and see what happens.

Now viewing a biography will show any metadata field the person has that matches one in the Detail Metadata. For example, this setup results in these notes on the biography:
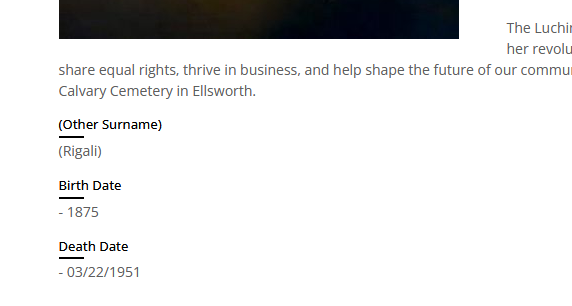
Note that the metadata may have a different name – in this example, “Date / date range” leads to Birth Date and Death Date.
Is the Person List entry complete?
Importantly, make sure a focus individual’s name is included on the History Trust Person list and the record is complete. You can check for a listing by attempting to add the name in an item record, but spelling and the order of words often results in missing an existing entry.
A better approach is to open a new browser and Search Person List in the History Trust online archives. Is the person listed? If not—or if the profile is incomplete—use the “suggest” feature.
